Create your account
Your restaurant’s name, your name, an email address and a password. No card needed.
To make a QR code menu you need your dishes and prices, an email address and a way to print one small square. With ElMenu it takes four steps: create your account, add your dishes and prices, download your QR code and put it on your tables. You can have a short menu live the same day, and guests open it with their phone camera, with no app. It is free to try for 14 days with no card, then from £14.99 + VAT a month.
From £14.99 + VAT a month · 14 days free, no card needed · no lock-in
Quick overview
From signing up to the first scan.
Your restaurant’s name, your name, an email address and a password. No card needed.
Make your categories, then add each dish with its price, a description and a photo.
On its own, or on eight print templates, from table talkers to stickers.
Guests point their phone camera at it and the menu opens in the browser.
Nothing technical: no website, no designer and no app. You need:
Menu already designed as a PDF? You can publish the PDF itself: see PDF menu with a QR code.
On the sign-up page you choose which plan to try: Starter is the QR code menu on its own; Professional adds order taking, a kitchen display and a till. The trial lasts 14 days and no card is asked for.
Type your restaurant’s name, your own name, your email address and a password of at least eight characters. You are signed in straight away, on a dashboard with a Getting started checklist that runs from your logo to your QR code.
Take care over the restaurant name. Your menu’s address is made from it, so ‘The Old Mill’ becomes elmenu.uk/the-old-mill, and the address cannot be changed from the dashboard afterwards.
This is where the time goes, in three places:
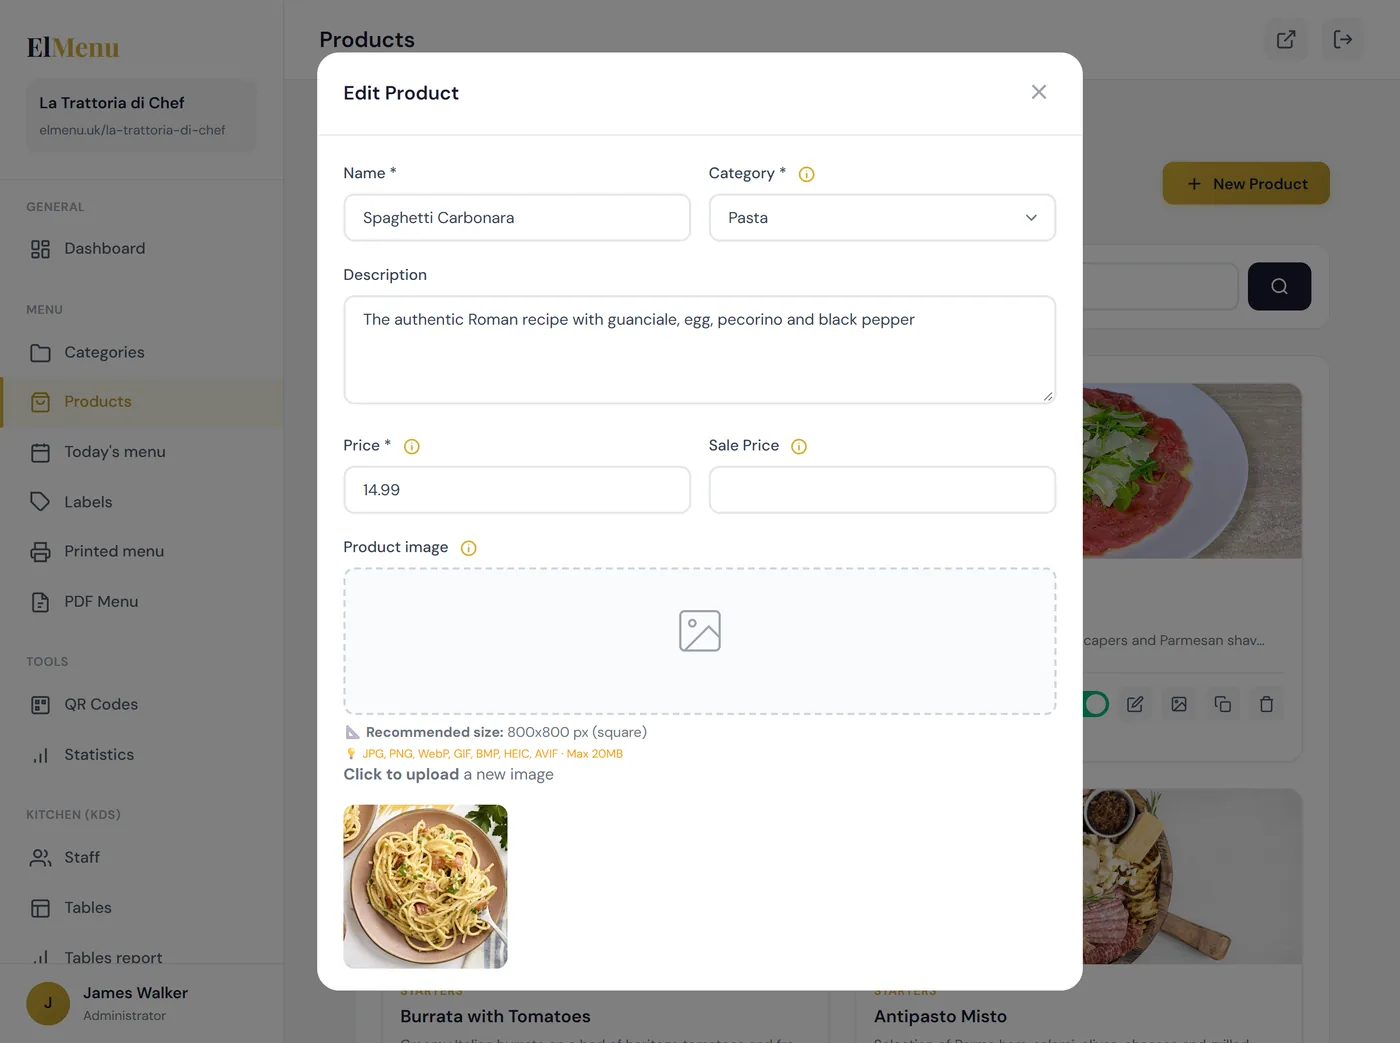
Photos do not need editing first: they are compressed for phones automatically. Sizes are separate dishes: add ‘Soup, cup’ and ‘Soup, bowl’, each with its own price, and let the Duplicate button save the retyping.
Once a few dishes are in, press ‘View menu’ and read it on your phone: that is how every guest will see it. The user guide goes through each screen.
Open QR Codes. Your menu’s address is at the top, and your main QR code is made the first time you open the page. You can:
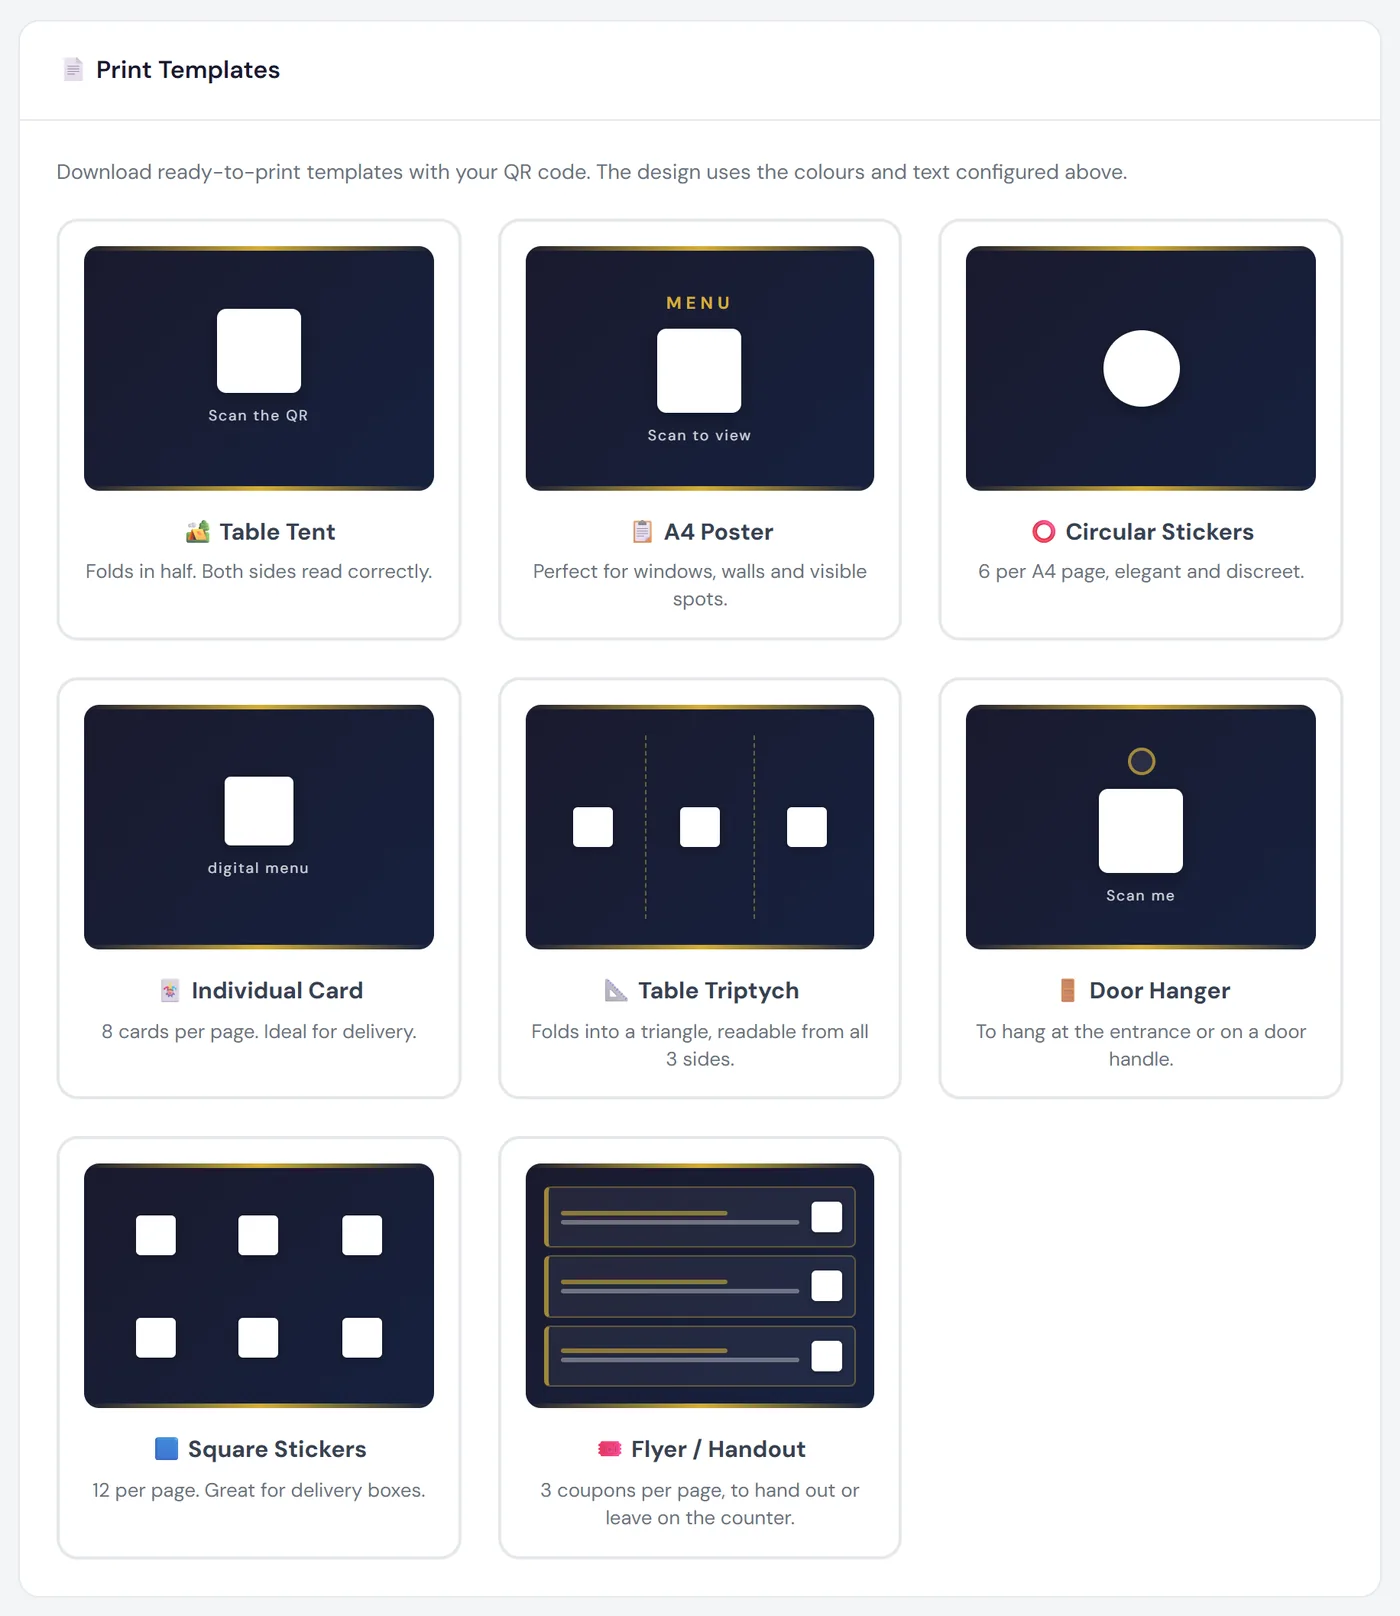
The code is static: it holds your menu’s own address, with no link shortener in between, so you can change the menu as often as you like and never reprint it.
Print one copy, scan it from a seat with your own phone, and only then print the rest.
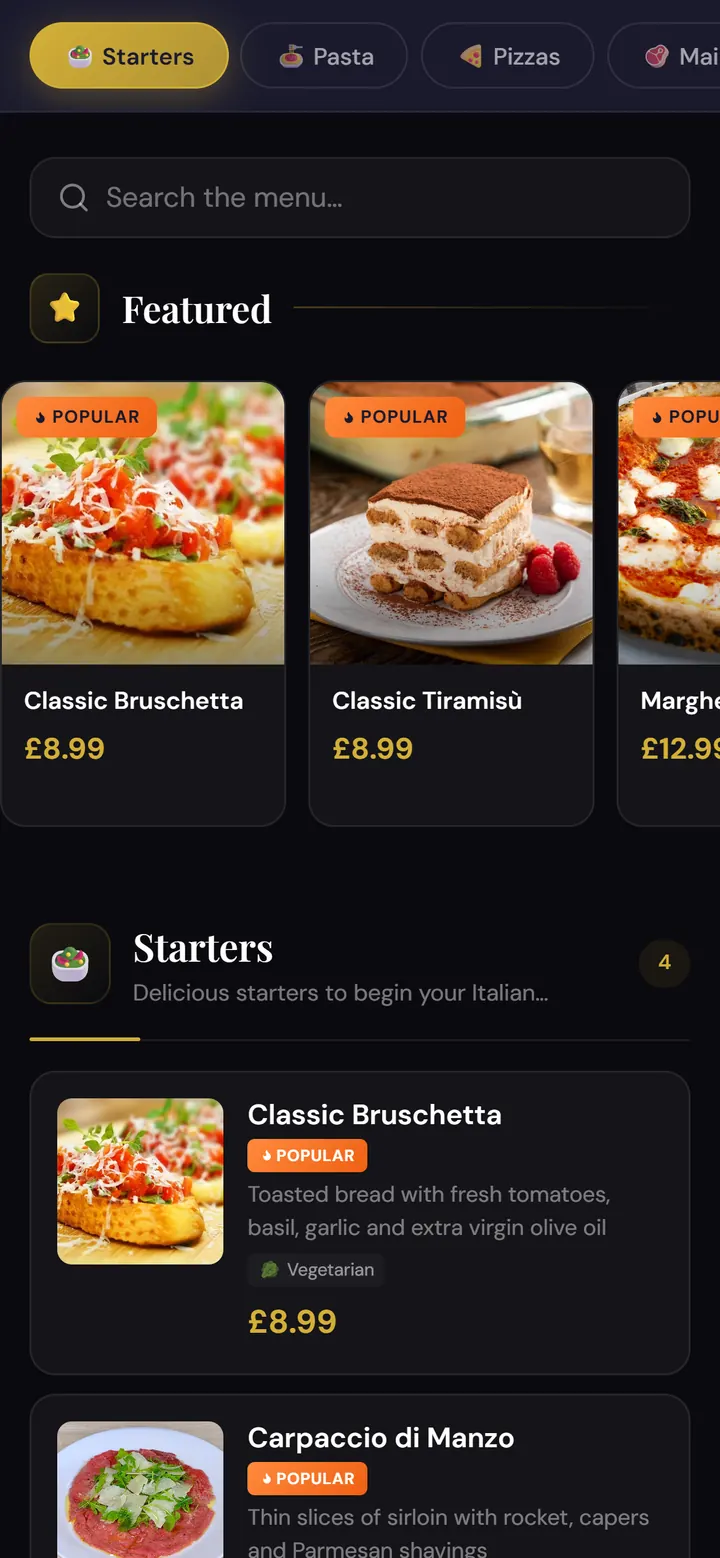
What your guests do. They point their phone camera at the code and tap the link that appears. The menu opens in the browser, with nothing to download, and in any of 12 languages if you switch translation on.
What you do from then on. Change a price, add a dish or switch one off when it sells out, and the next person to scan sees it.
You can make a QR code menu without paying anybody: save your menu as a PDF, put it on your website and point a static QR code at it. A static code is free and never expires, and some menu apps have free plans too. The limits:
For a short menu that changes a few times a year, that can be all you need: see the free QR code menu options. ElMenu is not free: after the trial it costs from £14.99 + VAT a month.
| Where | What to print | Size of the code |
|---|---|---|
| Every table | A table talker or a stand | 4 to 5 cm across; 3 cm at the very least |
| Counter or bar | A card or small sign | 6 to 10 cm |
| Window or door | An A4 poster | 10 cm or more |
Print the code dark on light with a matt finish, because gloss reflects the lights, and put the menu address under it for anyone who cannot scan. The reasoning behind those sizes is in our guide to QR code table talkers.
| Starter | Professional | |
|---|---|---|
| A month | £14.99 + VAT (£17.99 with VAT) | £29.99 + VAT (£35.99 with VAT) |
| Menu size | 50 products, 10 categories | 500 products, 50 categories |
Both can be tried free for 14 days with no card, and nothing is charged automatically when the trial ends. There is no lock-in; printing is the one cost on top. See pricing and how much a QR code menu costs in the UK.
FAQ
Short, direct answers to common questions.
A short menu goes live the same day. If you have many dishes or photos to prepare, allow a couple of sessions; if your menu is already a PDF, you can publish it in minutes with PDF mode.
No. They point their phone camera at the QR code and the menu opens in the browser, with nothing to download.
Yes. The QR code always points to your online menu, so you can update prices and dishes as often as you like without reprinting it.
No. You type your dishes into a form, upload photos from your phone and download the QR code ready to print. The user guide shows each screen.
Yes, with a PDF and a static QR code, or a menu app’s free plan: see our guide to free QR code menu options. ElMenu is free to try for 14 days with no card.
Create your account, add your dishes and print your QR code. 14 days free, no card needed, nothing charged automatically.